Decentralized File Sharing: Running IPFS on a Local Server and Connecting it to a React
uploading file on IPFS from React without need of infura node
About IPFS
InterPlanetary File System (IPFS) is a peer-to-peer network protocol and a distributed file system designed to create a permanent and decentralized method of storing and sharing files. IPFS uses content-addressing to uniquely identify files and stores them in a distributed manner.
In this blog, we will explore how to set up IPFS on a local server and upload file from react app.
Setting up IPFS on a Local Server
There are two ways to setup IPFS on Local Server
By IPFS CLI
By IPFS Desktop
Setuping IPFS by CLI
step 1: Download IPFS kubo from this link
step 2: Initialize IPFS
ipfs init
Step 3: Start the IPFS Daemon
ipfs daemon
your IPFS node has started running on the local network.
Setuping IPFS by Desktop App
step1: Download IPFS from this link
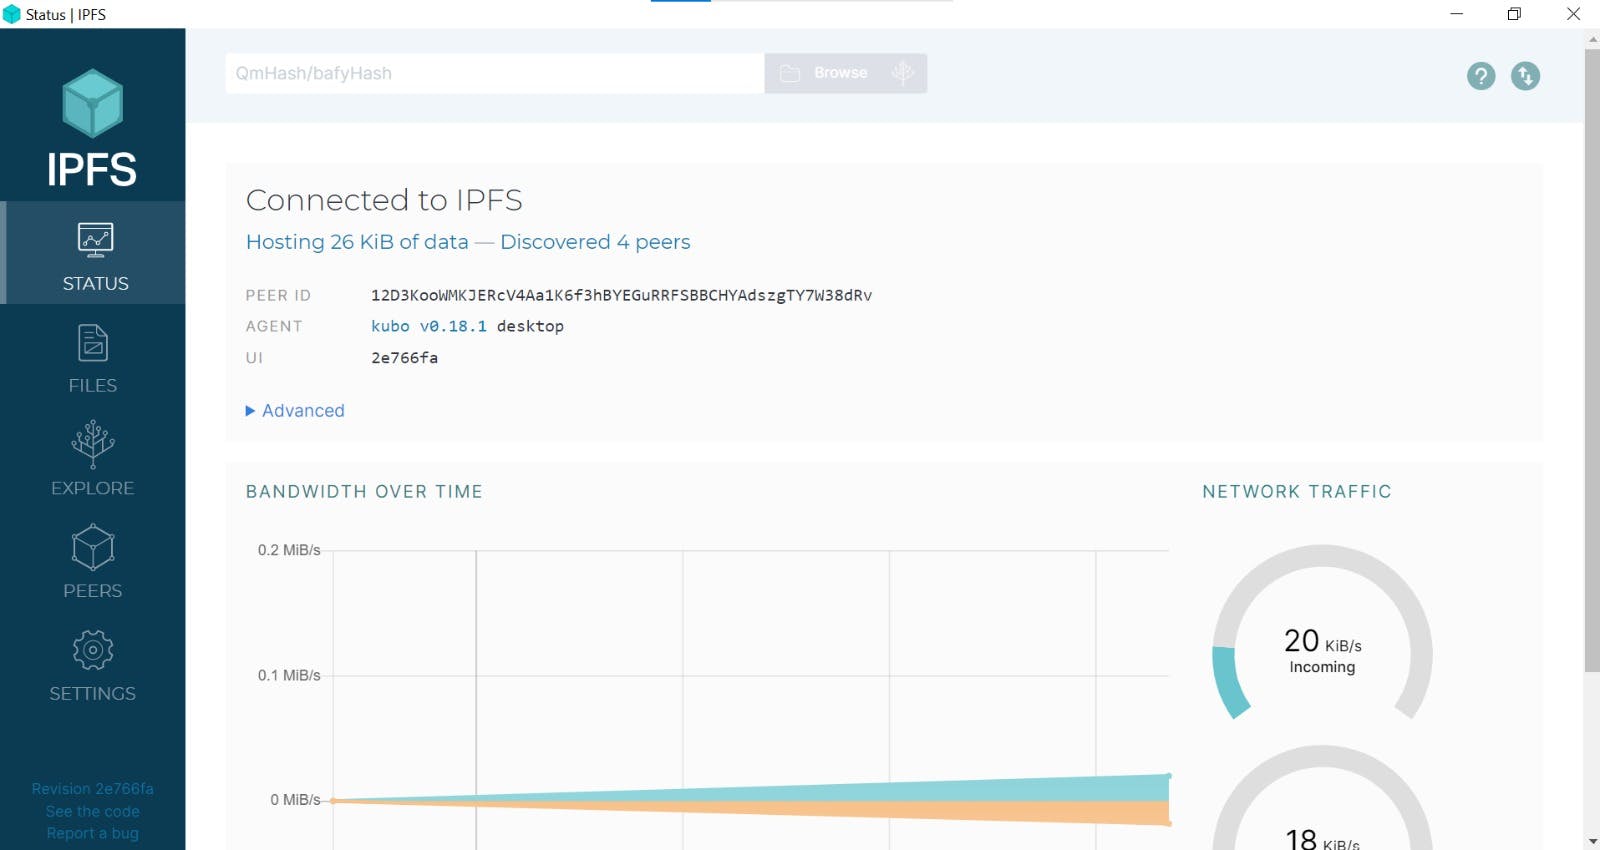
step2:After installing IPFS and opening it you should see this screen.

daemon has already started on IPFS.
Setuping React App
step1: Create React App using vite
npm create vite
select react as framework and variant as javascript.
step2: Install necessary npm packages
npm install
we also need ipfs-http-client for our project. To install it
npm install ipfs-http-client@53.0.1
Note that we using an older version of ipfs-http-client.
To start react app run:
npm run dev
step3: Code for file upload
import and create ipfs http client
import { create as ipfsHttpClient } from "ipfs-http-client";
const ipfs = ipfsHttpClient(); // by default url will be localhost:5001
We need have added states in our component for storing uploaded images
const [uploadedImages, setUploadedImages] = useState([]);
function for handling form submit
 const onSubmitHandler = async (event) => {
    event.preventDefault();
    const form = event.target;
    const files = form[0].files;

    if (!files || files.length === 0) {
      return alert("No files selected");
    }

    const file = files[0];
    // upload files
    const result = await ipfs.add(file);

    setUploadedImages([
      ...uploadedImages,
      {
        cid: result.cid,
        path: result.path,
      },
    ]);

    form.reset();
  };
Now let's add some HTML to see the file upload in action
 <form onSubmit={onSubmitHandler}>
      <label for="file-upload" class="custom-file-upload">
           Select File
      </label>
      <input id="file-upload" type="file" name="file" />
      <button className="button" type="submit"
           Upload file
      </button>
 </form>
To see uploaded images on ipfs let's add HTML code and fetch the image from ipfs
  <>
    <img
      className="image"
      alt={`Uploaded #${index + 1}`}
      src={"https://ipfs.io/ipfs/" + image.cid}
      style={{ maxWidth: "400px", margin: "15px" }}
      key={image.cid.toString() + index}
    />
    <h4>Link to IPFS:</h4>
      <a href={"https://ipfs.io/ipfs/" + image.cid}>
       <h3>{"https://ipfs.io/ipfs/" + image.cid}</h3>
      </a>
  </>
